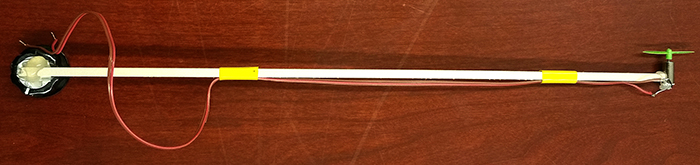
- Hot glue a motor to one end of the wooden beam. Note that the motor shaft should be at right angles to the rotation shaft of the knob.
- Roughen the knob surface using sandpaper. Be sure to remove the plastic film.
- Hot glue the other end of the wooden beam to the knob surface.
- Solder a pair of wires (from ribbon cable) to the motor and tape them to the beam. Note: Use only stranded wire peeled off from ribbon cable.
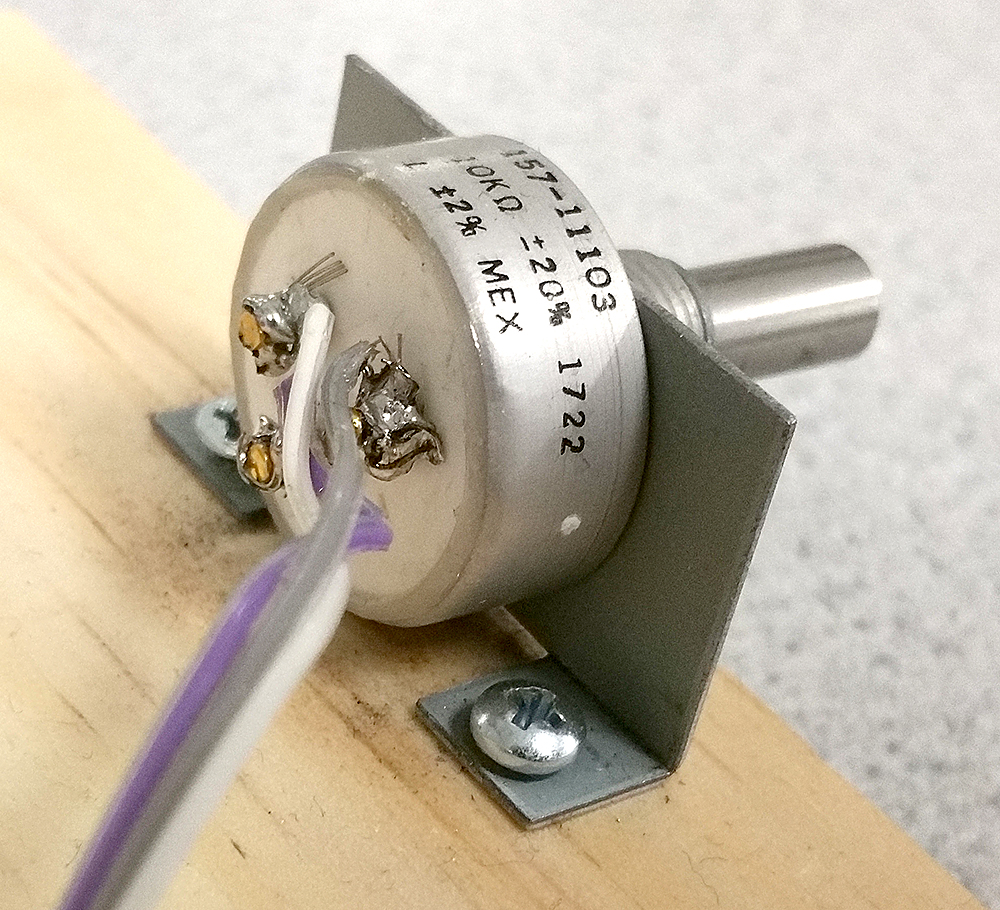
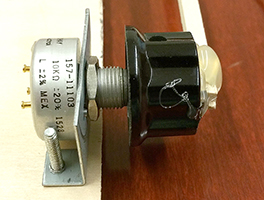
- Screw the potentiometer bracket to a chunk of wood big enough that you can use a book to weigh it down. Use #4 screws, as shown in the image below. Hot gluing the bracket to the wood will cost you 10 points in the lab.
- The potentiometer mounting hold on the bracket is slightly too small for the potentiometer sleeve. You will need to use the rat-tail (round) file to enlarge the hole.
- When attaching the potentiometer to the mounting bracket, be sure that the locating pin (see data sheet) is in the appropriate sheet metal slot. The shaft on these potentiometers is freely rotating. Therefore, when attaching the beam to the potentiometer shaft you need to check the whole range of shaft motion for continuous resistance. I suggest adjusting the pot to 1/2 full resistance, then attach the knob to the potentiometer shaft with the wooden beam held in the horizontal position.
- Be sure to use pliers to tighten the potentiometer on the bracket.
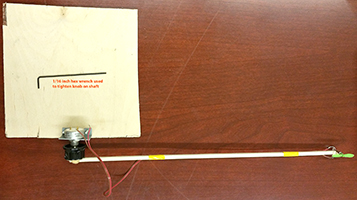
- Use a 1/16 hex wrench to tighten the knob onto the shaft. Hot gluing the knob to the potentiometer will cost you 20 points on the lab.
- Solder three wires (from ribbon cable) to the potentiometer.
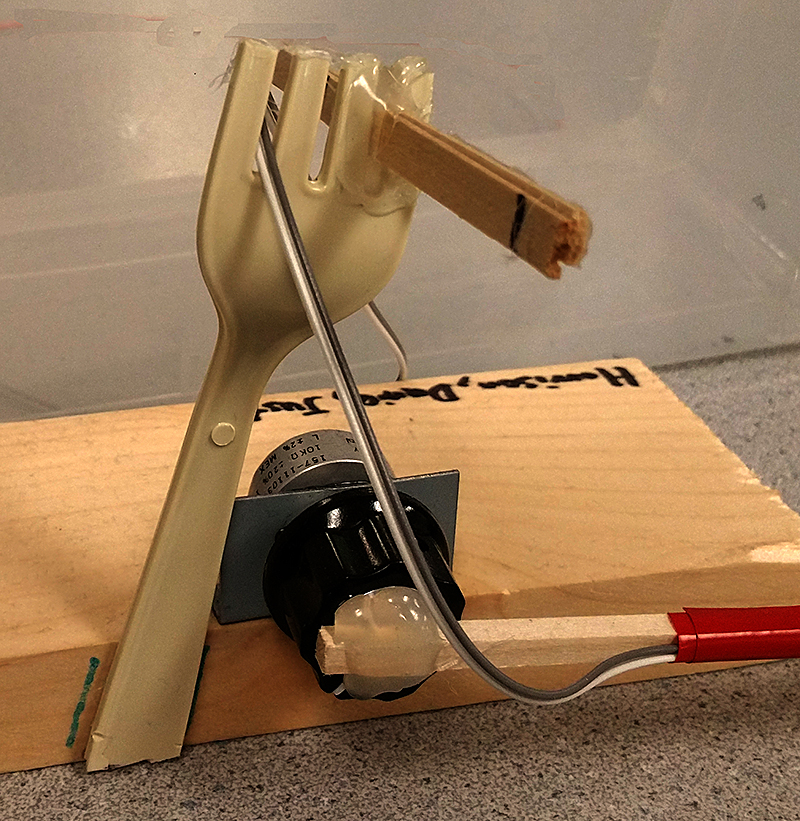
- Figure out how to put a rotation-stop on the beam so that it cannot go past vertical. A piece of wire works, or a coffee stir-stick, or a drinking straw, or a fork from Mattins.